THE POTS ARE FINISHED!!!!!!
Here is a family photo of Alisa and My pots together ;)
Here is a family photo of Alisa and My pots together ;)
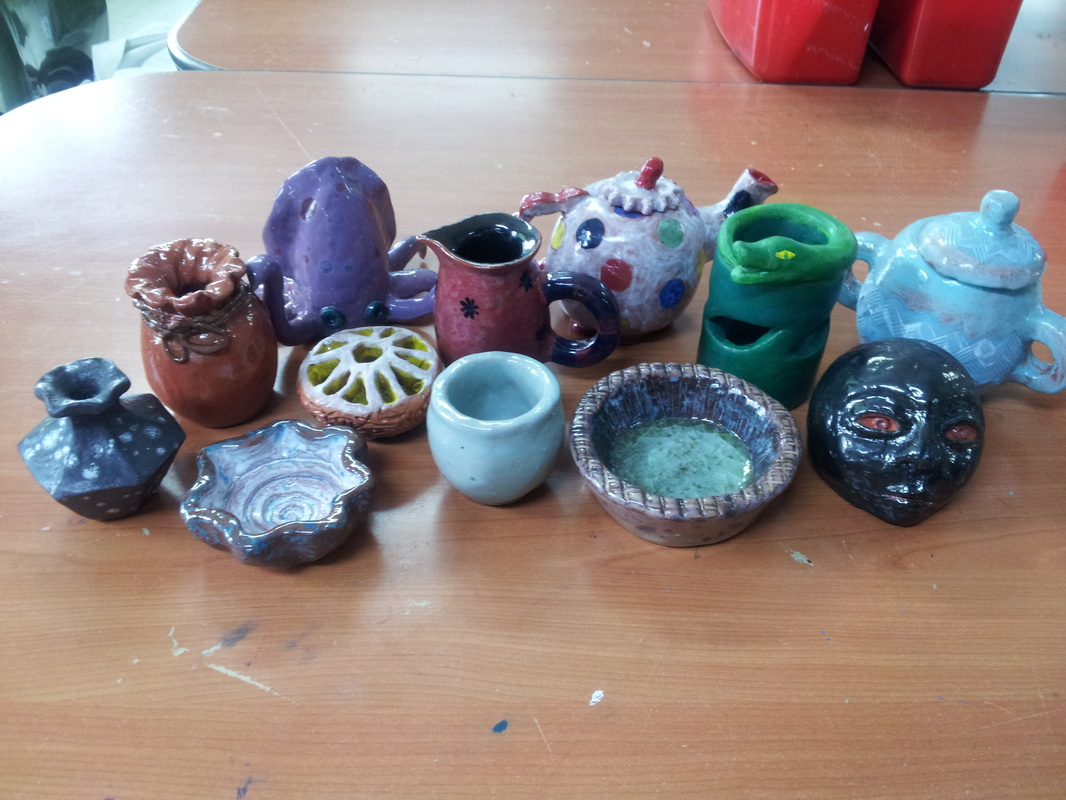
Here are our "Gifted and Talented" pots
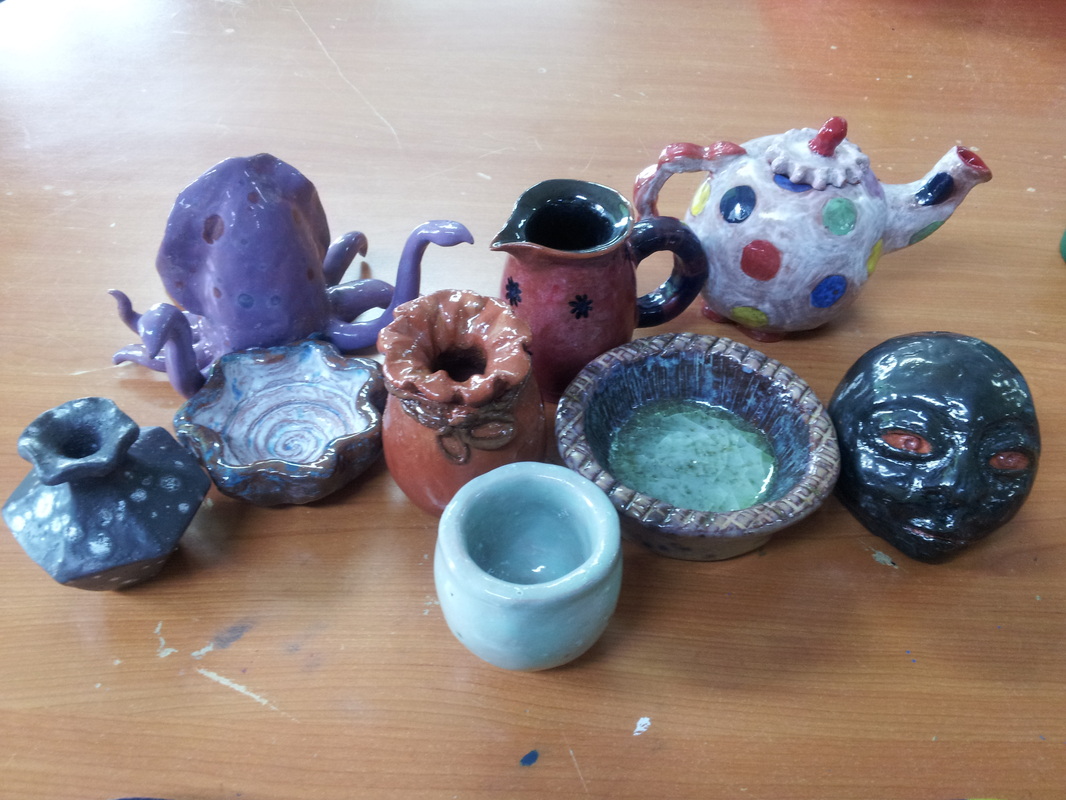
AND........ Our fail sad pots

|
THE POTS ARE FINISHED!!!!!! Here is a family photo of Alisa and My pots together ;) Here are our "Gifted and Talented" pots AND........ Our fail sad pots
1 Comment
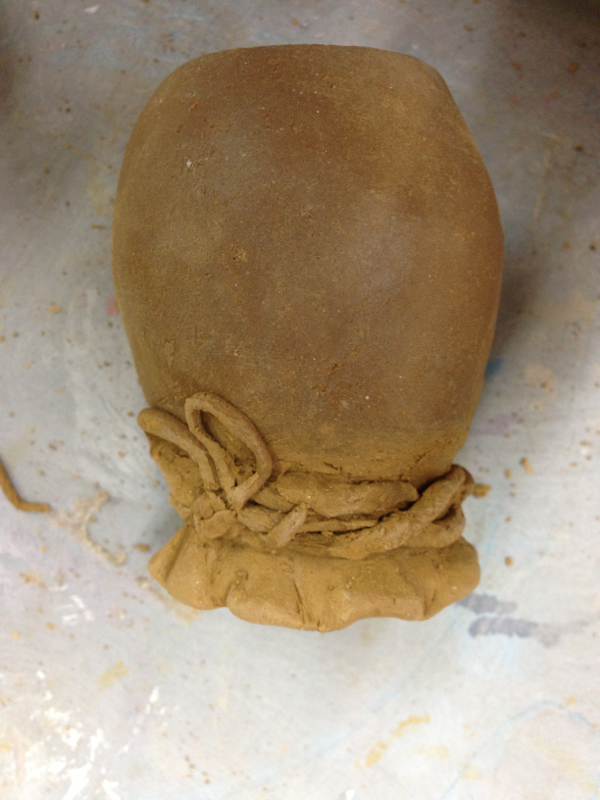
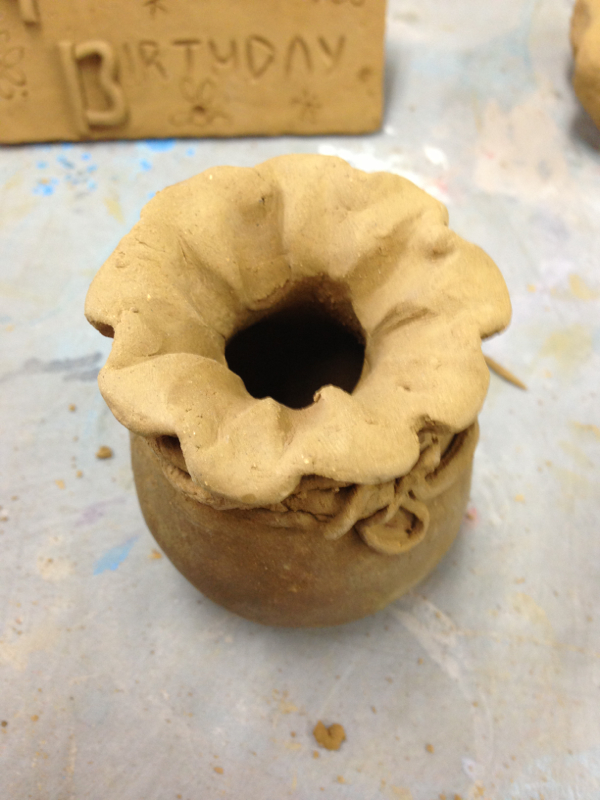
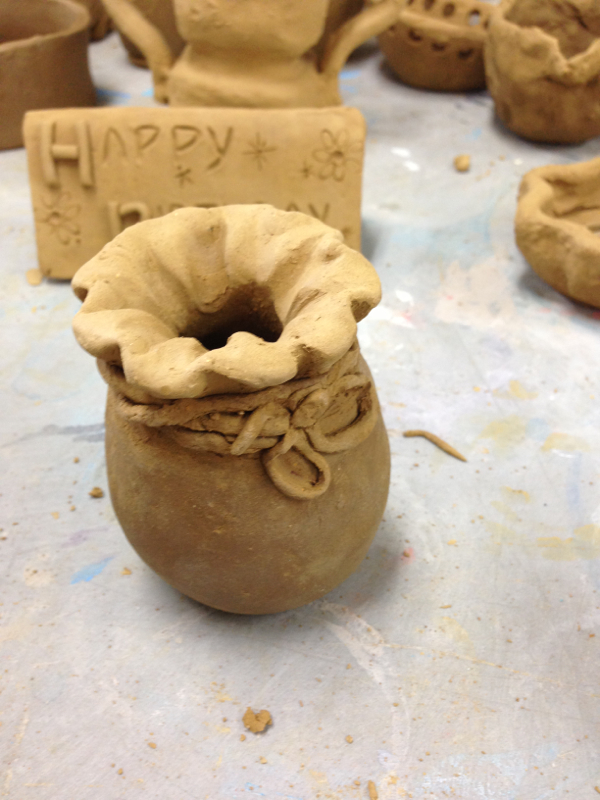
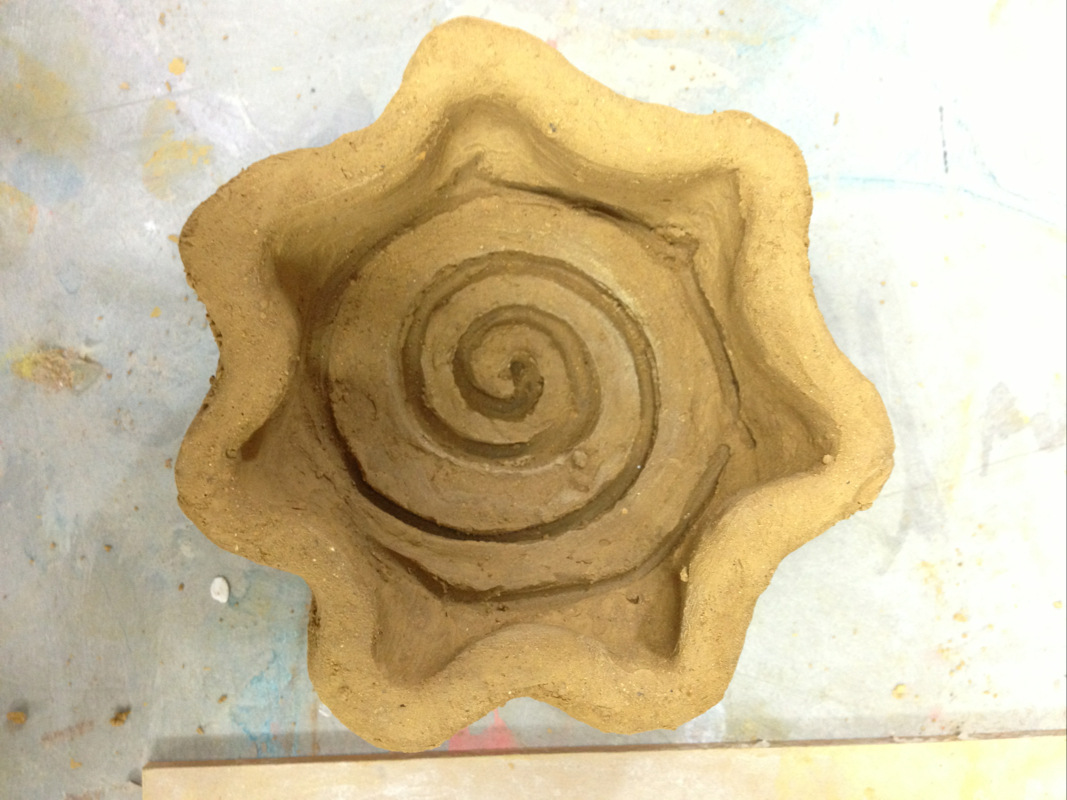
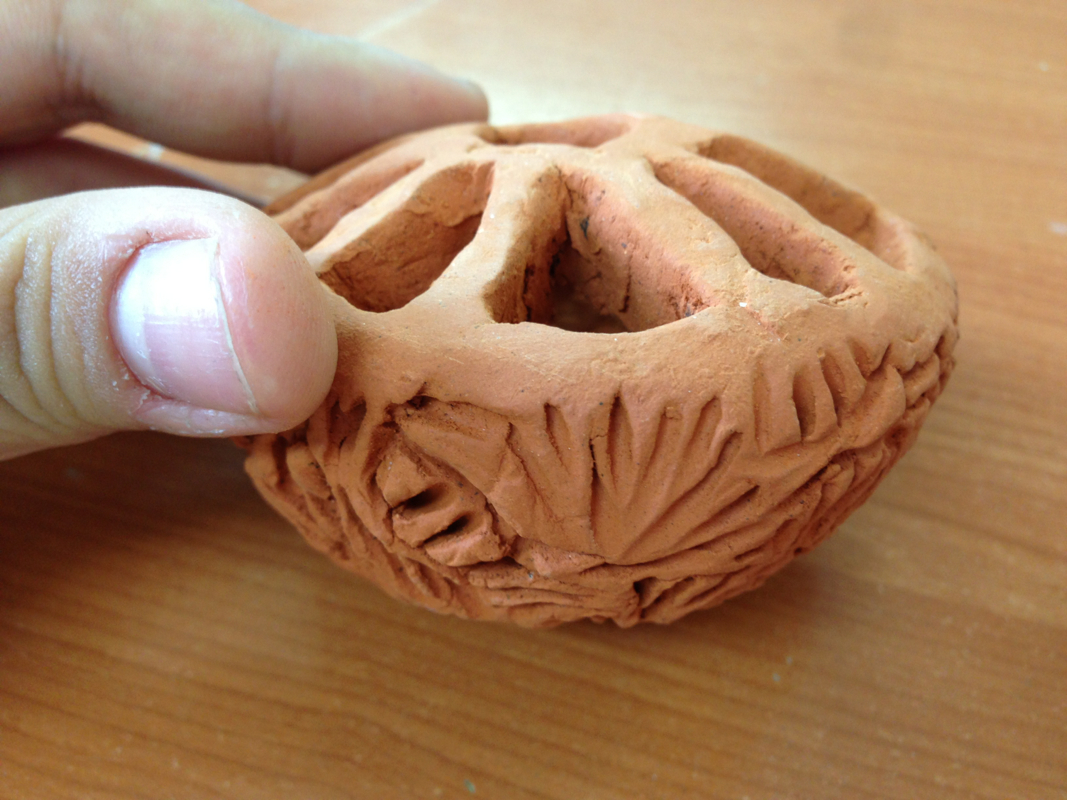
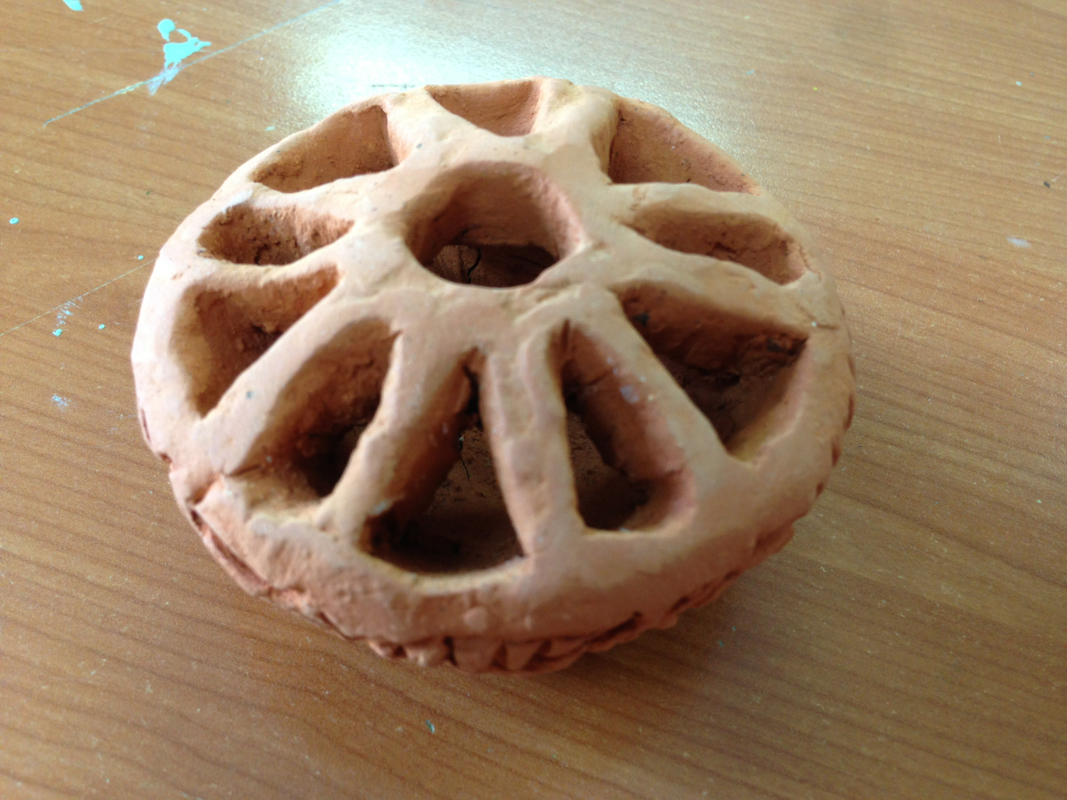
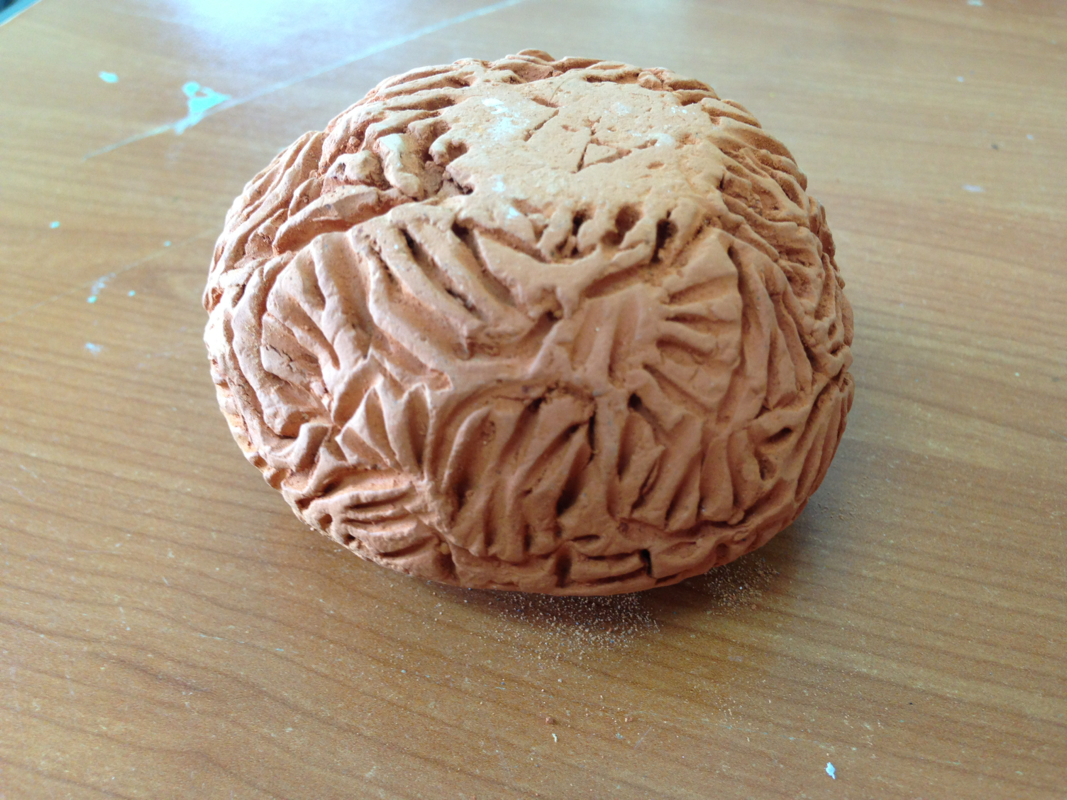
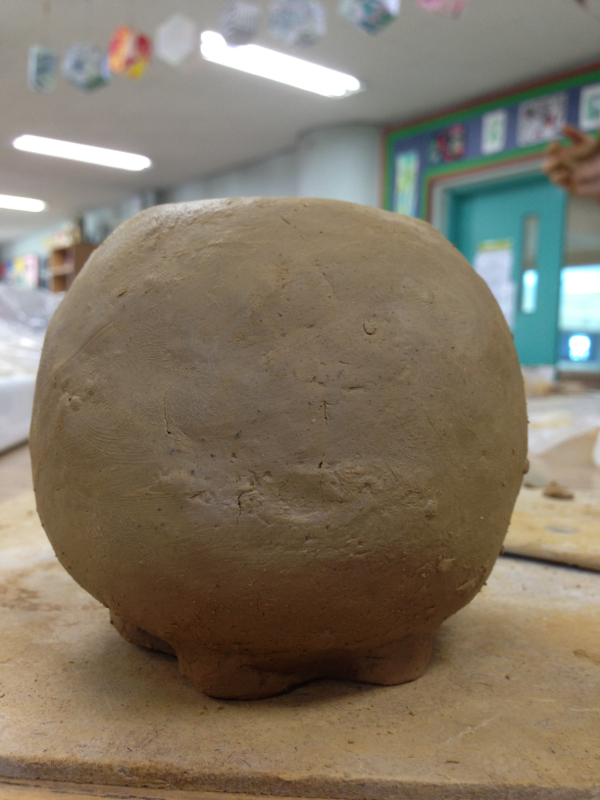
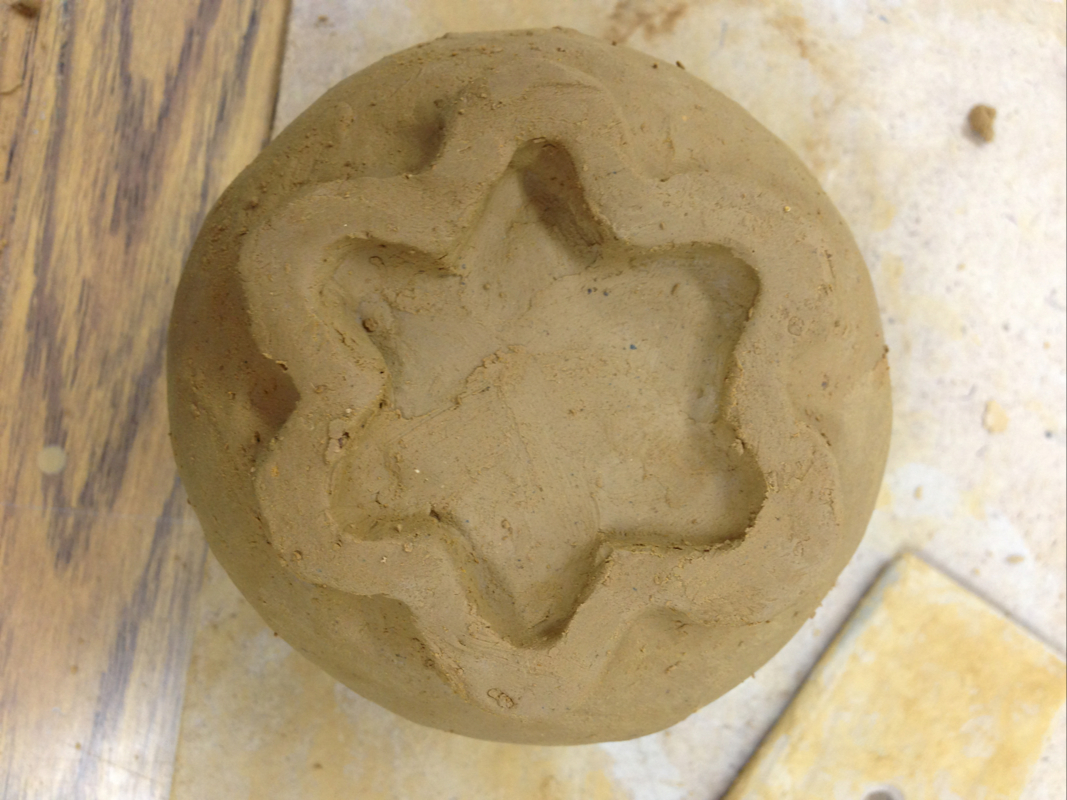
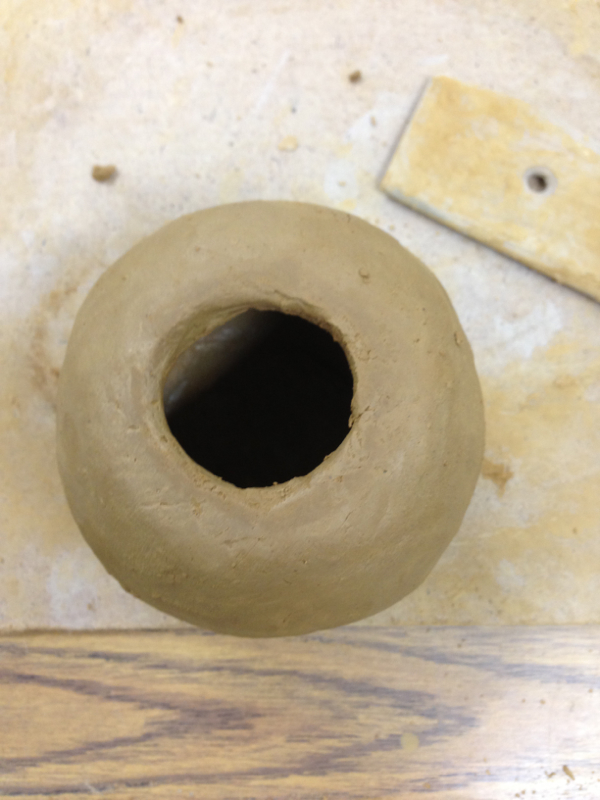
So these pots were my "Emergency pots' that I had to speed through in order to make 6 pots. Each were done.. from planning, making to finalizing in one class time, and I think they both turned out fairly well considering that these were "rushed". My pouch pot was originally supposed to be a milk jug.  But after thinking about it, i wanted to keep my theme of the "wiggle" somehow with either the body or the mouth. since I'd done it with almost all of my other pots. I ended up making the mouth wiggly despite it being pretty perfect, and it looked like a small pouch bag, which I thought was kinda cute. I kind of failed when it came to making a clay string to wrap arounf the pot, ( wish I could've used a real string.. but then that would disintegrate in the kiln.) It ended up kinda mutated because the string kept on breaking, but I managed to get the pot done ;) I am planning to make this pot looking pretty realistic, or at close it gets at least with glaze. Maybe underglaze so i can get the effect of shadows better.. watercolor? pastel? I also have my Swirl pot, which is just a dish with a 3D swirl inside it. I, again, kept the swirl/wiggle theme this time, having the wiggly mouth and the swirly print inside for the internal design. I think for a one class job, it turned out nice. The downside to rushing your pot is that you don't recognize the pot right away when you come back the next class because you spent so little time with it. THis beautiful pot is ma baby! It's also the pot that I keep scaring Alisa with., and she is actually scared of it which is pretty cute. It was supposed to be a realistic looking baby face, but I realized that I had only a few classes left and not a lot of pots done. I ended up finishing this pot in 2.5 classes with cartoonish features ( I had no choice) but I wanted it to be at least scary so I can make it serve some purpose. The pot needs a lot of sanding because it's really rough and the baby's face is not really that cute. I'm planning to make the eyes red and maybe as a cute halloween decoration, and a anti-Alisa pot. 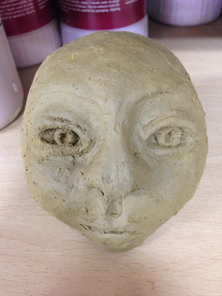 When I first started this pot, I was expecting something like this: 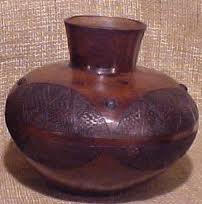 Although it's not exactly like this.. my plan for this pot was for it to have a wide squished circular base, with a angled ( x smooth) opening that extends out further than it does in this picture. It was like one of those African ethnic pot thingies, the ones you would see in museums with white, brown and red glaze on it with geometric shapes all around it. The plan seemed pretty simple at first, it's just a small pot and a cylinder going around the top right? Well.. no. The pot part was easy and took only half a class-time to make it perfect. The cylinder however.. would just not stan up. It would wobble, and then I would pinch it., which would thin that part out and I would add clay, and then it would collapse. I struggled with making the cylinder for 2 classes and I gave up. Although I had given up making this pot all together, I thought I could still do something with my pot so I decided to finish one of the requirements, the piercing and the exterior texture. I started by printing the stamp paper lightly and carved random lines on the outside the pot. The piercing pot came out really really weird because I didn't plan to do this at all, but oh well. I guess it's okay to have one pot that you fail. I learned that you have to plan carefully before doing anything that involves carving. You can't un-carve. I don't really know where I am going to go with this pot. It has it's own beauty I guess... ;P The pot turned out pretty nice! It looks like the midnight sky and the gloss is not too glossy but more of a matt finish. The sparks of rock s are white, and in a way they look like moss.. but they also look like painted stars in van Gogh's starry night. Anyways, super glad with the finished pot. Now I am off to do 6 more. I was in Guam this week so I didn't get to do as much as I planned.. but oh well. Guam was fun by the way. 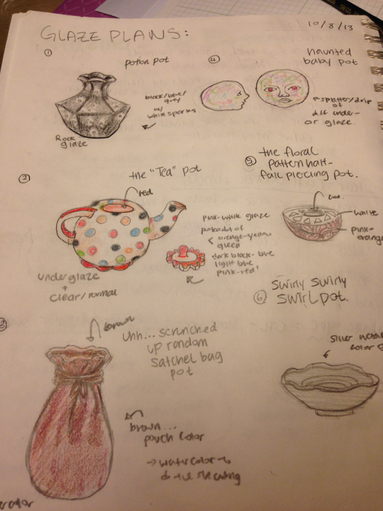 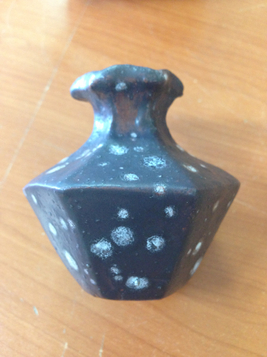 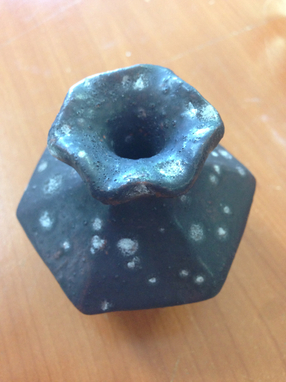 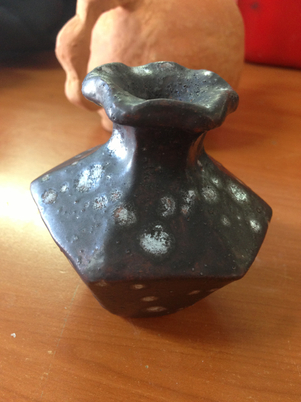 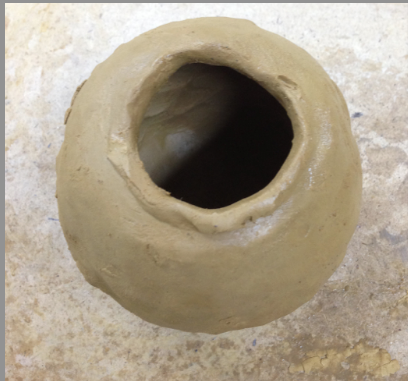 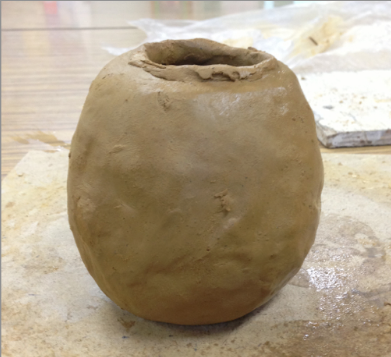 So this week, Ms. Lopez taught us how to merge 2 smaller pots together to create a bigger pot like this. I was worried about air bubbles during the merging process but it seemed fine at the end ( I hope it doesn't explode while baking O.o ) So far, I haven't been able to shape it perfectly, but it's getting there ;) The pictures on the top is the pot right after the merging. As you can see, it's very rough and the pot doesn't seem too much like a teapot yet. The bottom 3 pictures is my pot by the end of the week. Ms. Lopez taught us how to make a foot, so i made a wiggly flower foot. I also made the pot a lot smoother and made it round on the sides but somewhat flat on the top and bottom. The pot still looks pretty rough, but it looks a lot like a teapot now. We haven't learned how to make the spout yet, but once we do, I can make the spout, handle, and lid for the pot :) 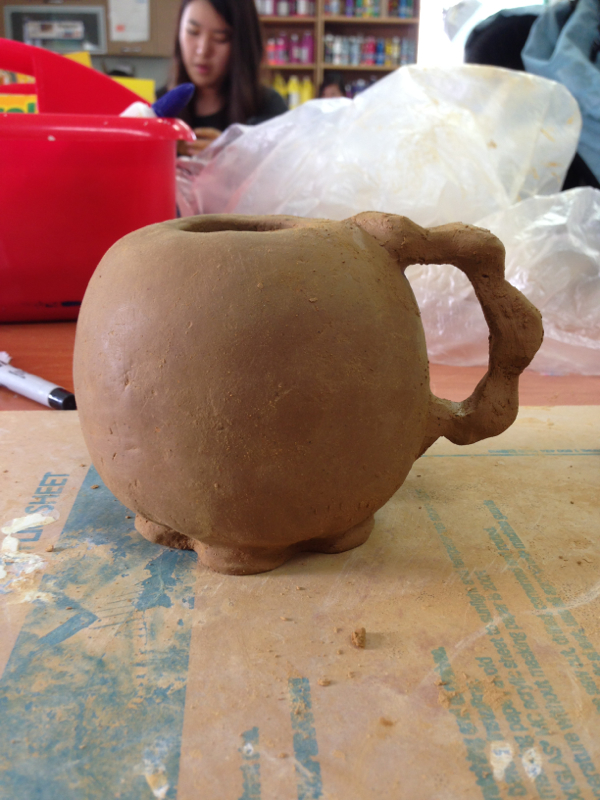 So I was really excited for this part!! Since all of my pots are now fired and pretty, now all I have left is to decorate the pots. I learned a lot about the different types of glazes such as the one with the rocks that spark color ( CTL) and underglazes like puff paint, crayon, watercolor and glass. for my 1st pot, i wanted to try a glaze of a relatively dark color with sparks in it. The rocks were hard to keep on the pot because they kept falling off and moving around while I put several layers on the pot.
So far, I only have 1 pot completely done, but I finished planning the glaze for all 6. |